Adding Financial Transactions in Royalti.io: New Payment, New Expense, New Revenue
Adding Financial Transactions in Royalti.io: New Payment, New Expense, New Revenue
When managing your business finances, tracking payments, expenses, and revenue promptly is essential for maintaining accurate financial records. Let's explore how Royalti.io makes this process intuitive through its transaction management system.
Getting Started
Before you can add any financial transactions, you'll need to:
Sign in to your Royalti.io account with your credentials
Select your appropriate workspace
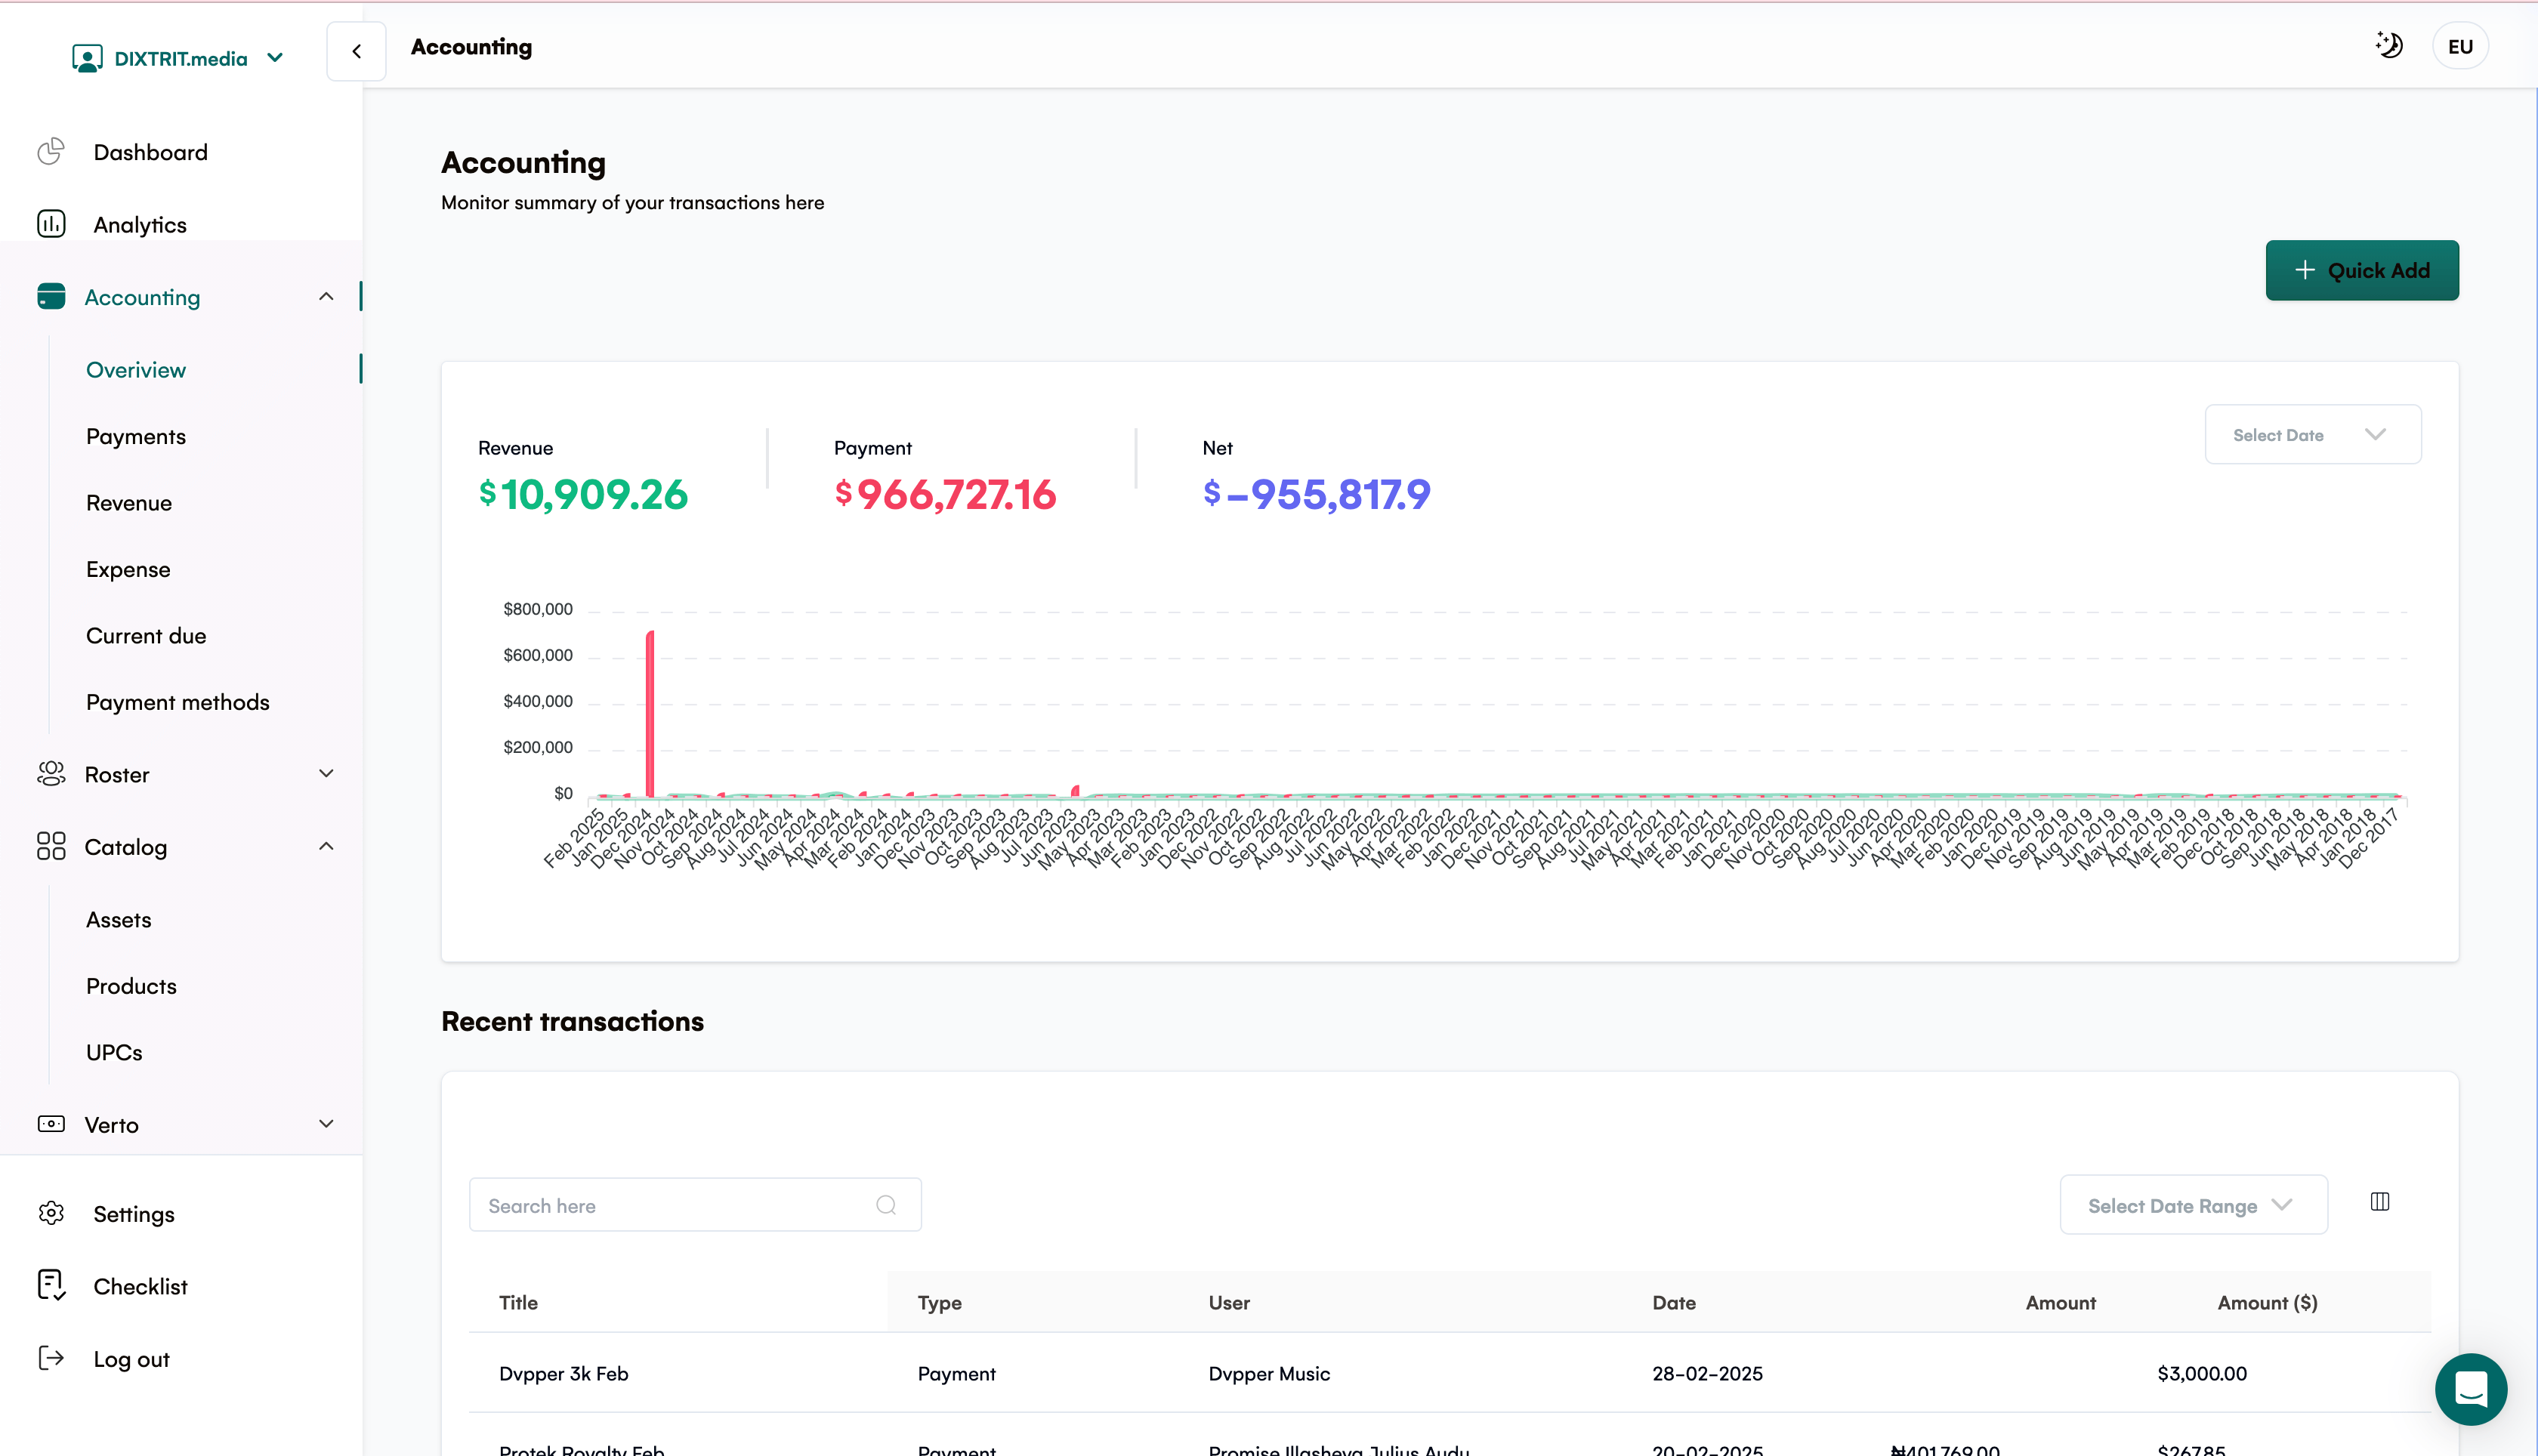
Look for the Accounting dropdown in the side navigation bar
Click on "Overview" to access your financial dashboard
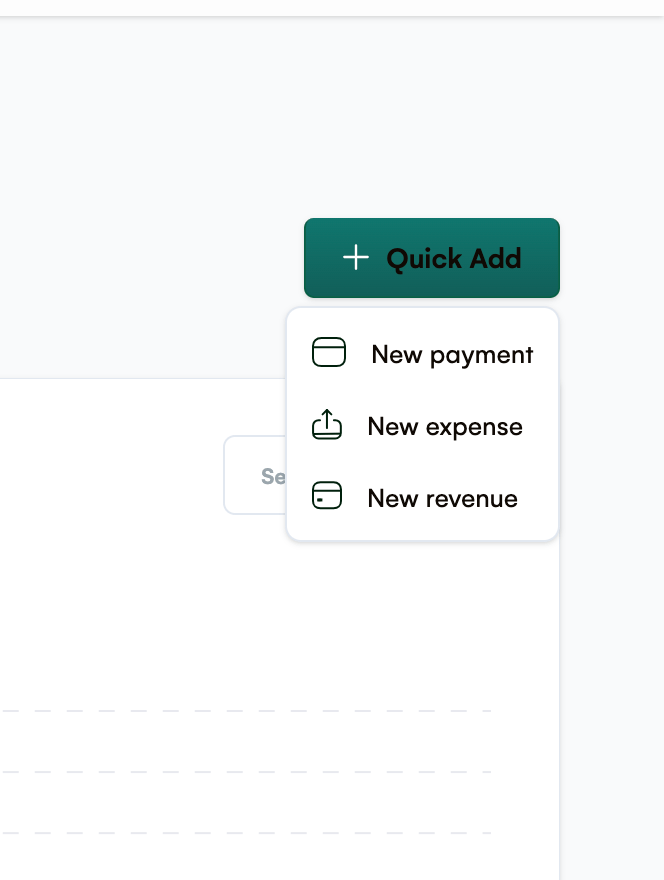
Once you're on the Overview page, you'll notice a "Quick Add" button positioned in the top right corner of the interface. This button serves as your gateway to recording any type of financial transaction. When clicked, it reveals three distinct options that correspond to different types of financial activities: New Payment, New Expense, and New Revenue.
Adding a New Payment
When you select "New Payment," a form appears that allows you to document money coming into your business. This could represent client payments, customer purchases, or other incoming funds.
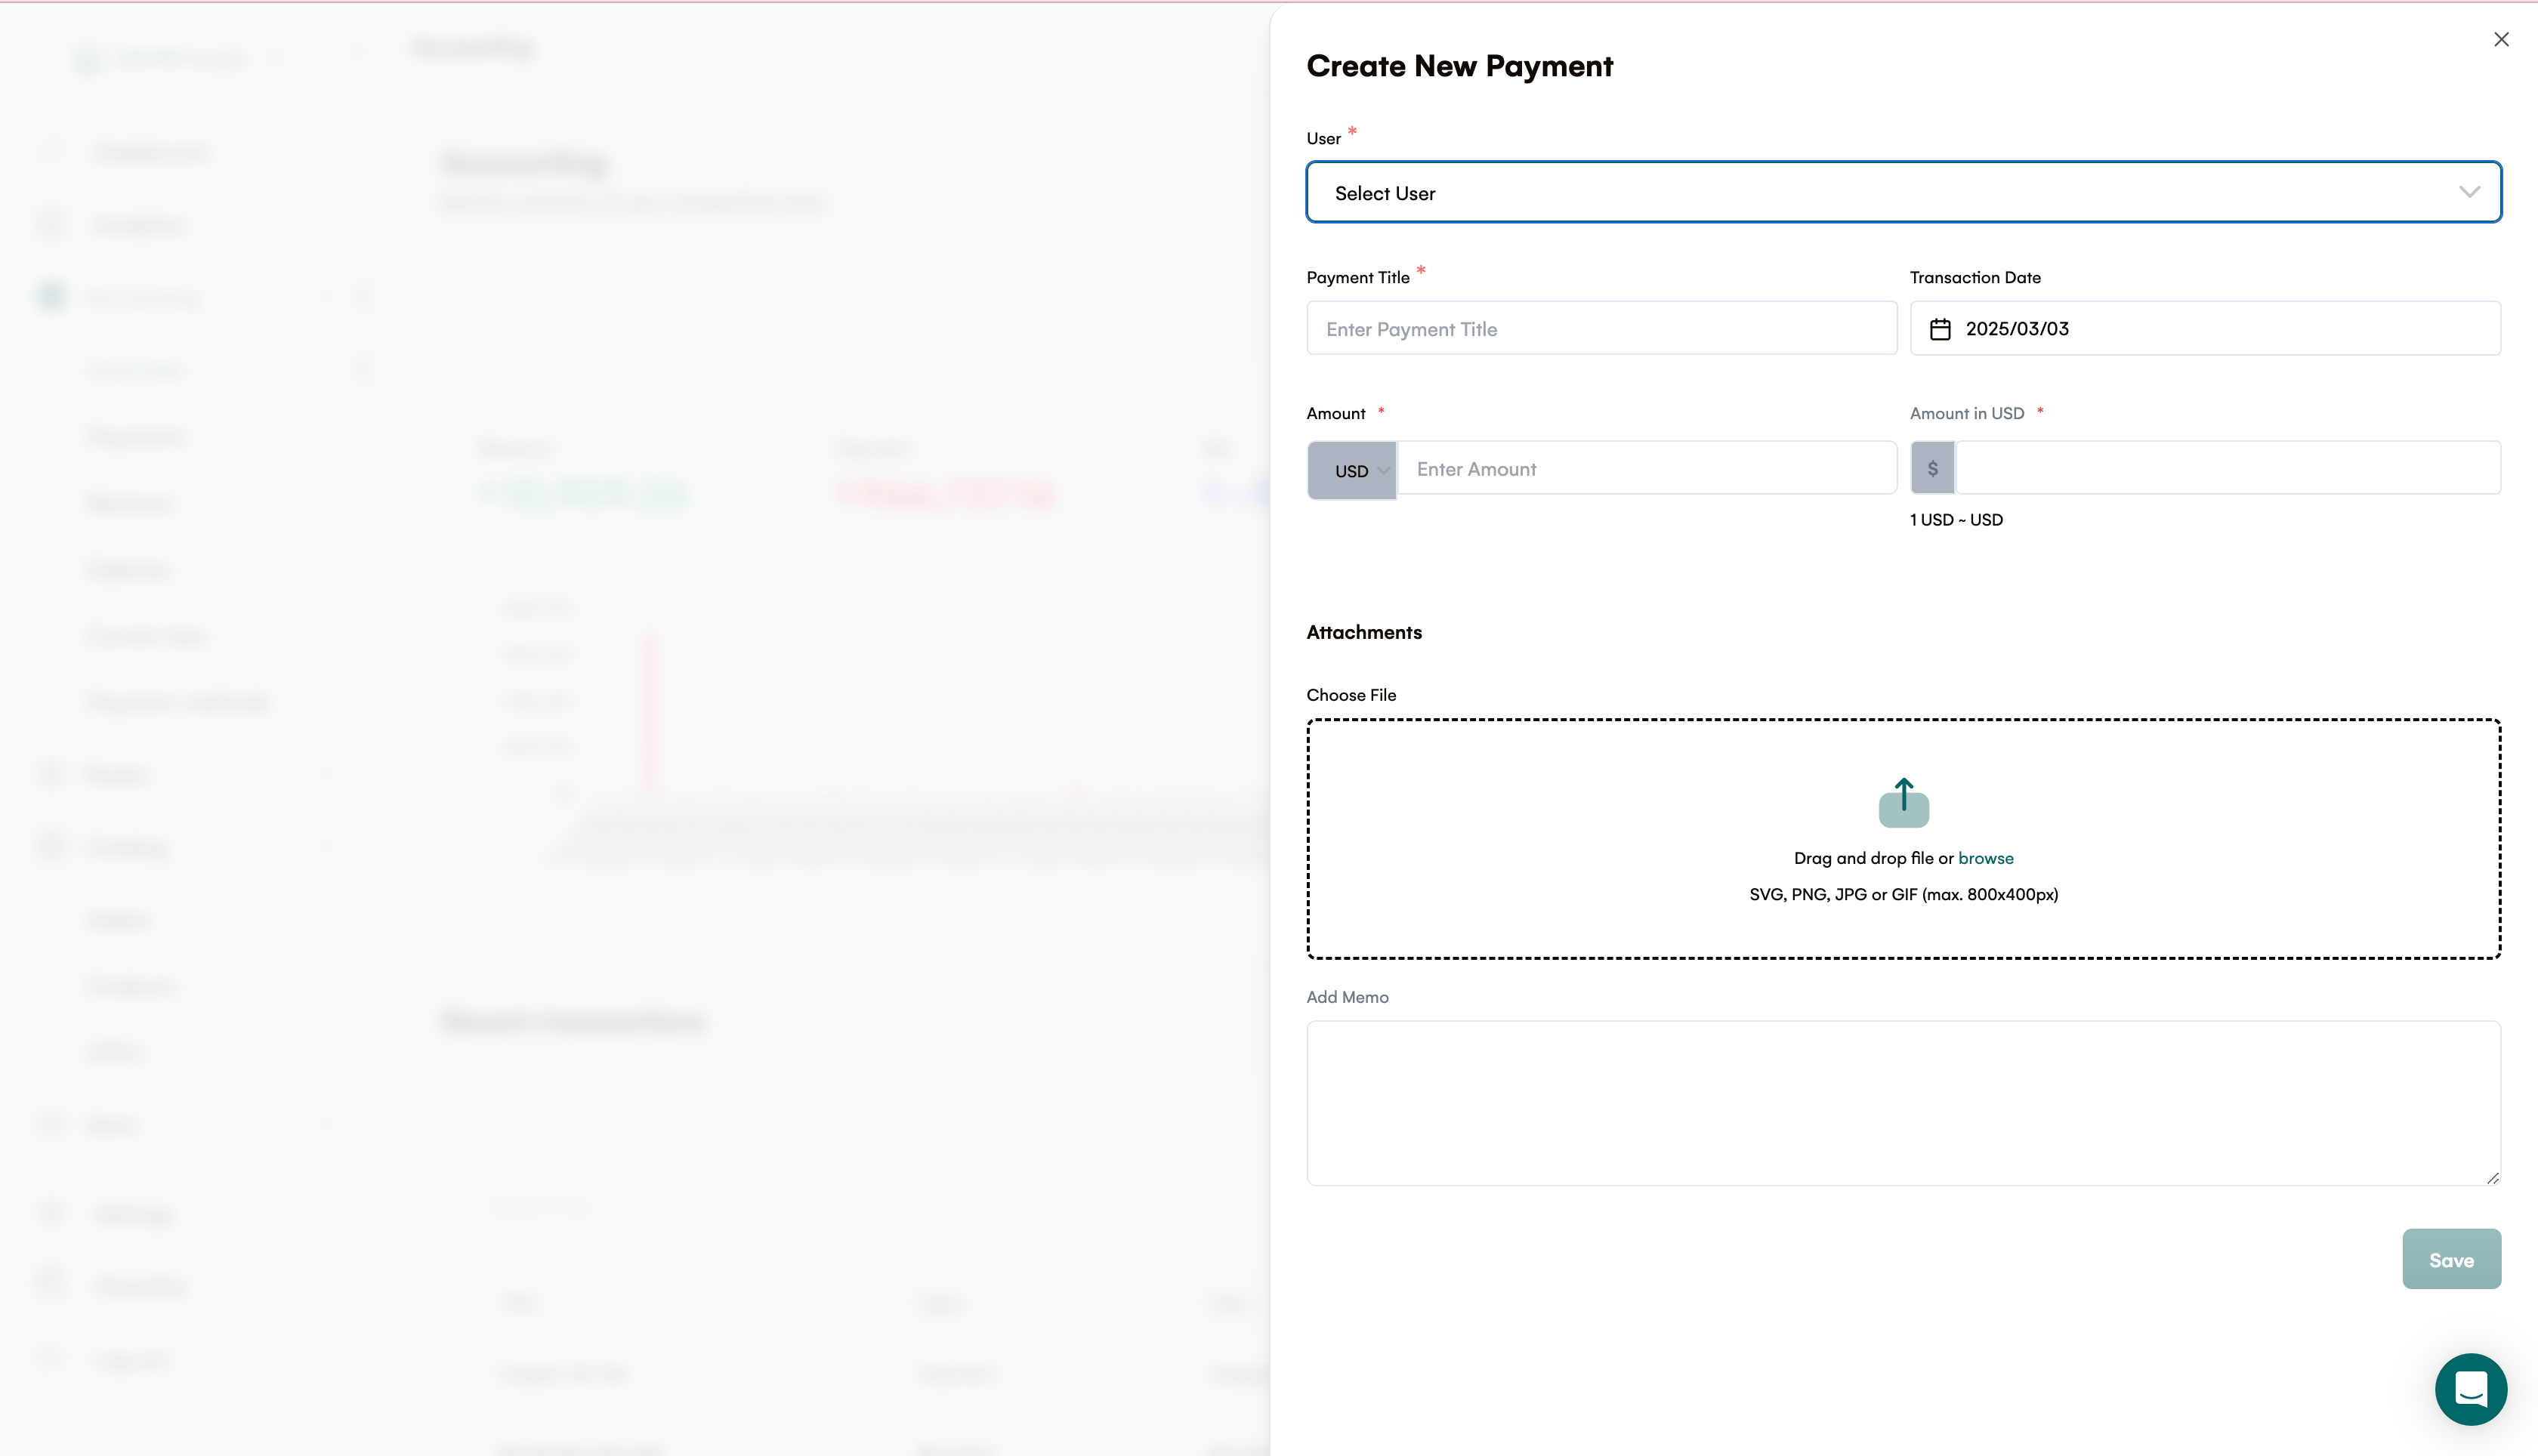
The form contains several important fields:
-
User field: This required dropdown lets you associate the payment with a specific client or customer, creating clear financial relationships in your records.
-
Payment Title: This required field needs a descriptive name that will help you quickly identify this transaction later (for example, "Music Royalti Payment - Johnson Ezege").
-
Transaction Date: Automatically set to today's date (2025/03/03), but you can adjust it if you're recording a payment from a different date.
-
Amount: Here you'll enter the payment value, with USD as the default currency. If you record a payment in another currency, Royalti converts it using the exchange rate configured for that currency in your workspace. See Managing exchange rates if you need to add or update a rate.
The form also includes supplementary features that enhance your record-keeping:
-
Attachments section: This allows you to upload supporting documentation like invoices or receipts, accepting common image formats (SVG, PNG, JPG, or GIF) with size constraints (maximum 800x400px).
-
Memo field: This provides space for additional context or notes about the transaction that might be important for future reference.
Once all information is entered, clicking the "Save" button will record this payment in your financial system.
Adding a New Expense
The "New Expense" option helps you track money flowing out of your business.
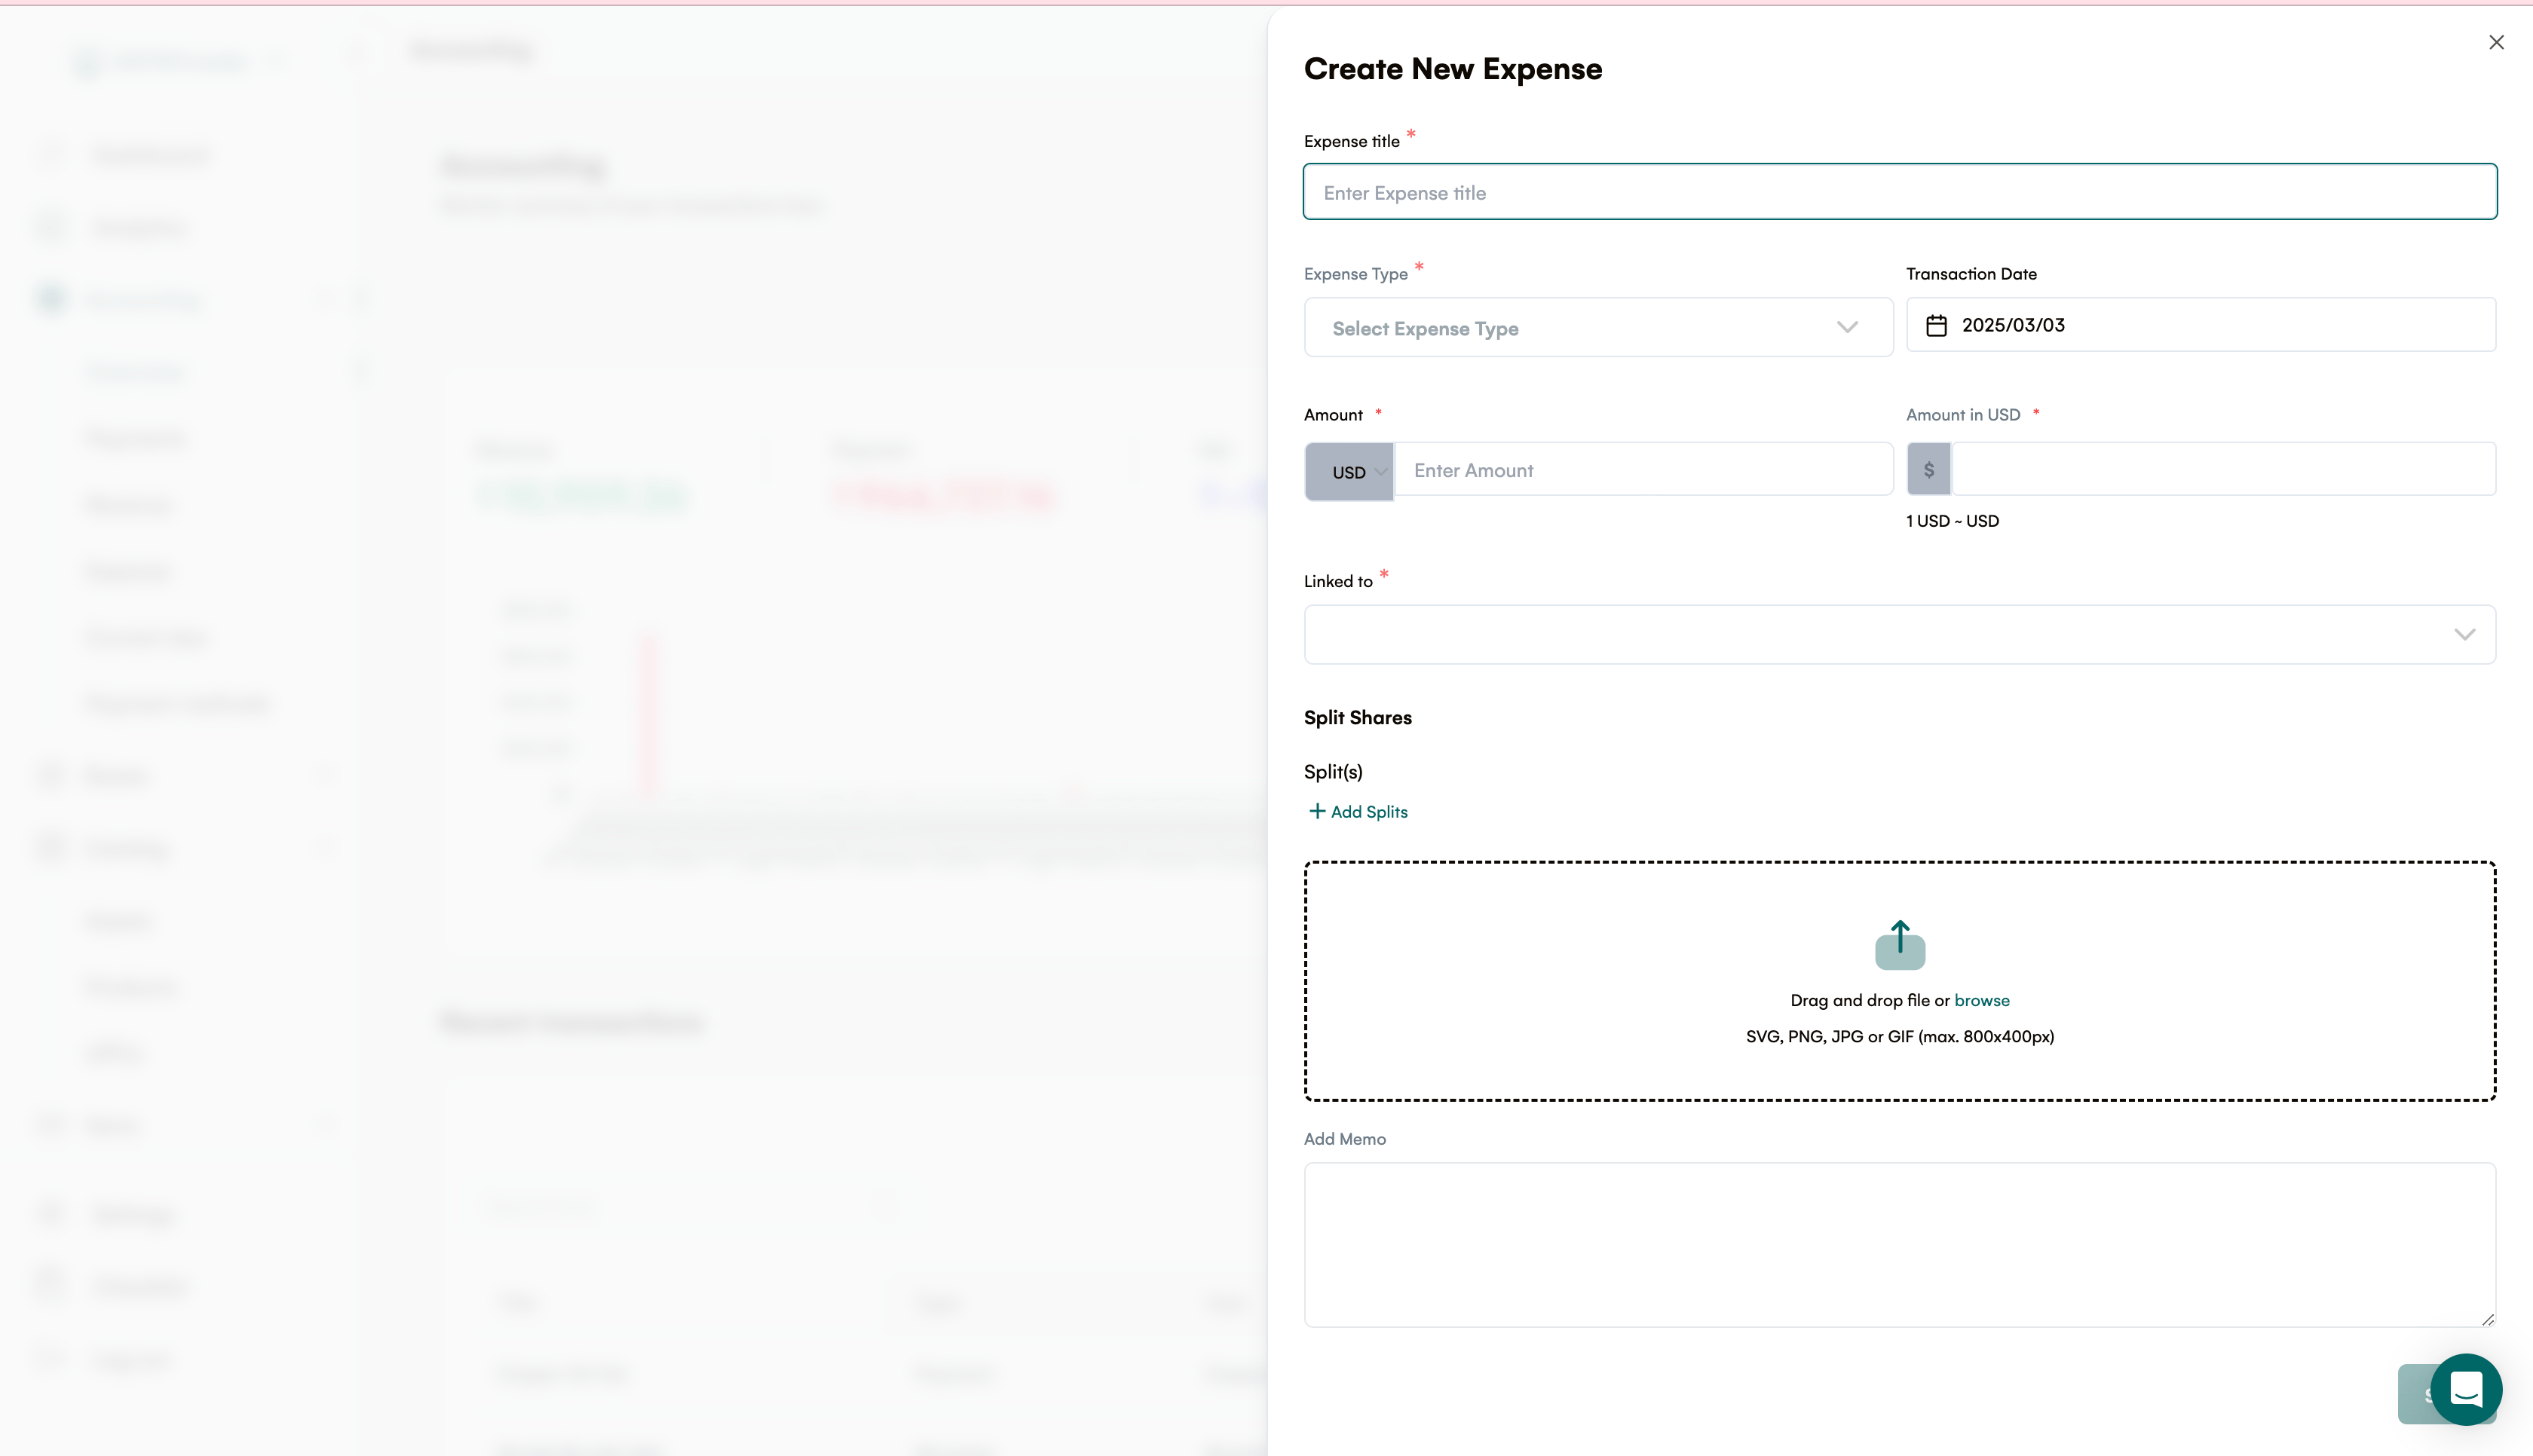
The form includes:
-
Expense Title: A required descriptive name for the expenditure.
-
Expense Type: This required dropdown helps categorize spending (such as "Office Supplies," "Marketing," or "Travel").
-
Transaction Date: Pre-filled with today's date but adjustable as needed.
-
Amount: Where you record how much was spent. USD is the default currency; other currencies convert using the exchange rate set in your workspace (see Managing exchange rates).
-
Linked to: This required field helps associate the expense with a specific project, department, or account for better financial organization.
What makes the expense form particularly powerful is the "Split Shares" functionality. This allows you to distribute a single expense across multiple categories or projects.
Like the payment form, you can attach documentation and add memos before saving the expense.
Adding New Revenue
The "New Revenue" form focuses on tracking income streams for your business.
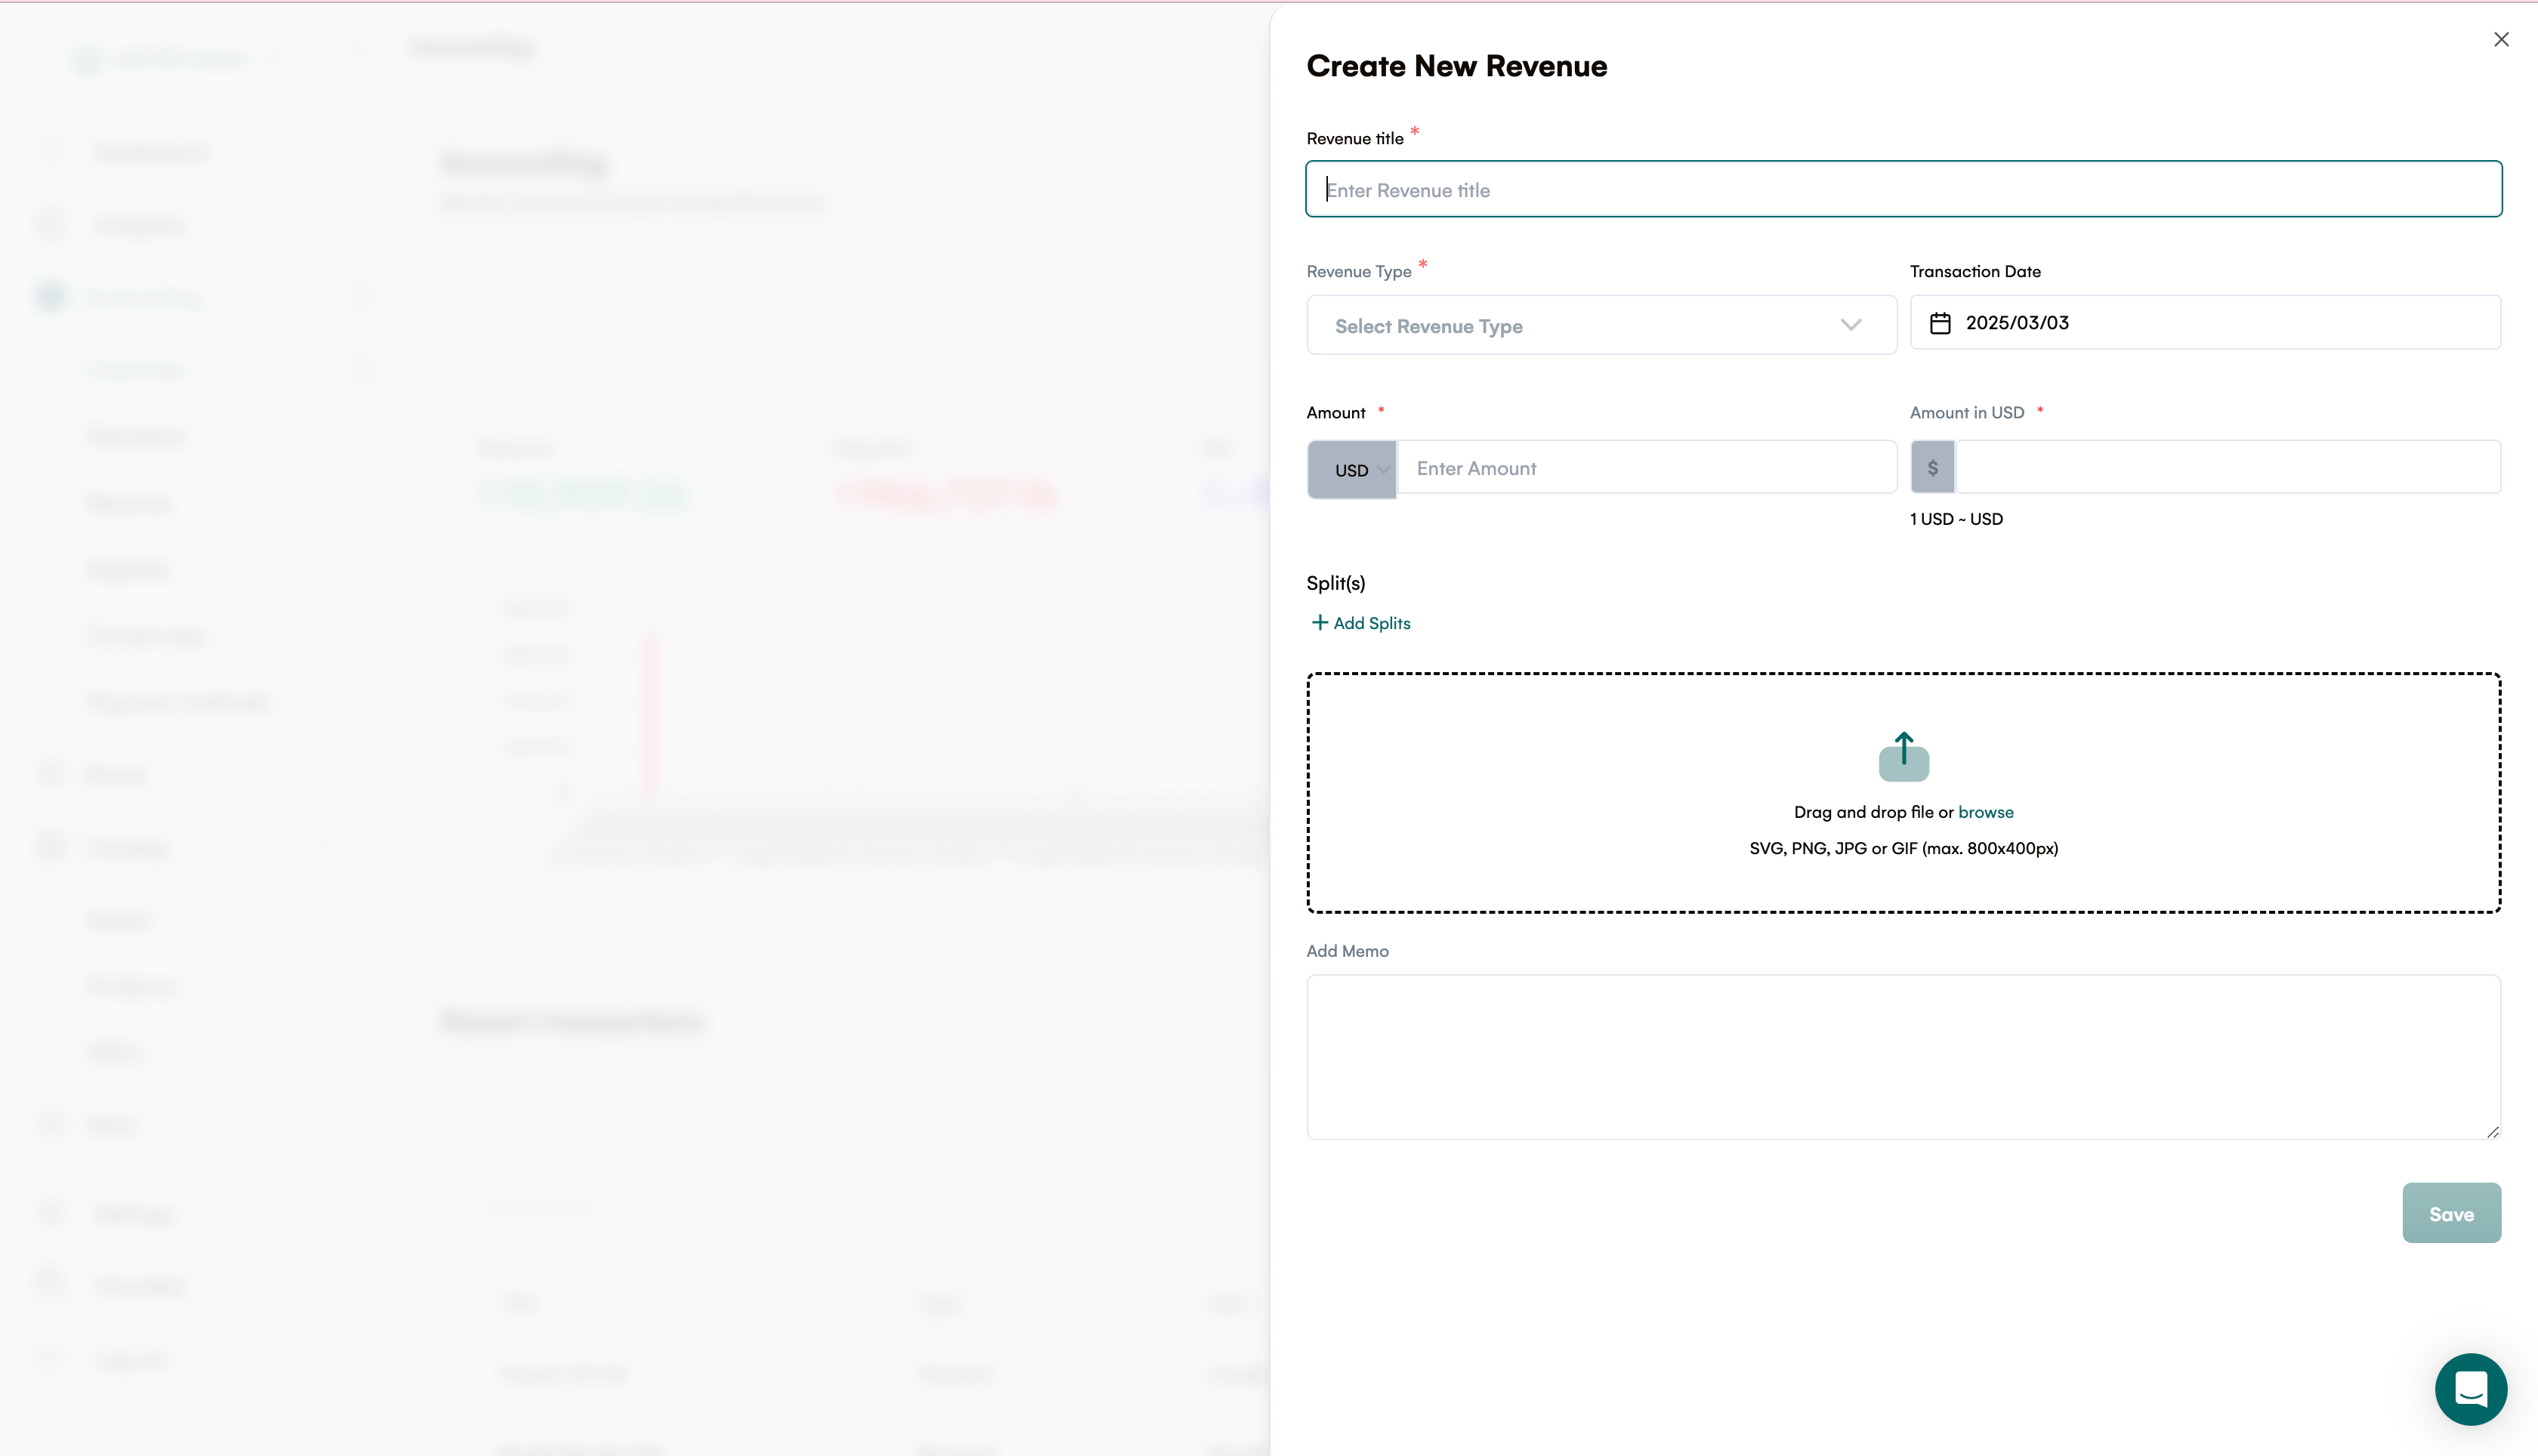
While similar to the payment form, it has some distinct characteristics:
-
Revenue Title: A required field for naming your income source.
-
Revenue Type: This required dropdown helps categorize different types of income (such as "Service Revenue," "Product Sales," or "Consulting Fees").
-
Transaction Date: Automatically set to today but adjustable.
-
Amount: Where you enter the revenue amount. USD is the default currency; other currencies convert using the exchange rate set in your workspace (see Managing exchange rates). Note that the system highlights this field with a "Please fill out this field" prompt, emphasizing its importance.
Similar to the expense form, the revenue form includes a "Split(s)" feature that lets you allocate revenue across different departments, projects, or accounting categories.
The form maintains consistency with the other transaction types by including attachment capabilities and a memo field.
How these transactions fit into statements
Payments, expenses, and revenue you record here feed into Royalti's accounting engine alongside your processed royalty data. When you generate an artist or member statement, the engine applies any recoupment balance and carries forward unrecouped amounts to future periods automatically.
For expenses specifically: when you link an expense to an artist, it's recoupable by default, meaning it's deducted from that artist's future royalty earnings until it's paid off, the same way a formal advance is. Turn off the "Recoupable" toggle on the New Expense form if a linked expense is for your records only and shouldn't reduce the artist's statement balance. Formal advances (issued from Accounting → Advances) follow the same recoupment logic.
If you're setting up currencies or fee rates for royalty sources that also feed into this same accounting engine, see Royalty processing, source fees & exchange rates.
Related articles
Managing Payment Items in Royalti.io
This guide explains how to view, edit, and delete payment of the Accounting Management system. Getting Started To manage individual accounting items: 1. Log in to your Royalti.io account 2. Select...
Managing Royalty Sources
Overview The Royalty Sources feature allows you to manage and download royalty data from various platforms. This guide walks you through accessing, managing, and modifying your royalty sources....
Activating and Managing the Releases Feature - The Admin
What is the Releases Feature? The Releases feature is a comprehensive music submission and approval workflow system that allows your users to submit music releases for review and automatic catalog...
Still stuck?
Support answers within one business day — usually much faster.