Artist Management
Artist Management
Artists are the core profiles in your roster, linked to assets, splits, and payments. This guide covers viewing, creating, editing, and merging artist records.
Getting Started
Sign In and Navigate to Your Workspace
Log in to your [Royalti.io](https://app.royalti.io) account.
Select the desired workspace where you want to manage artists.
Viewing Artists
Access the Artist Page
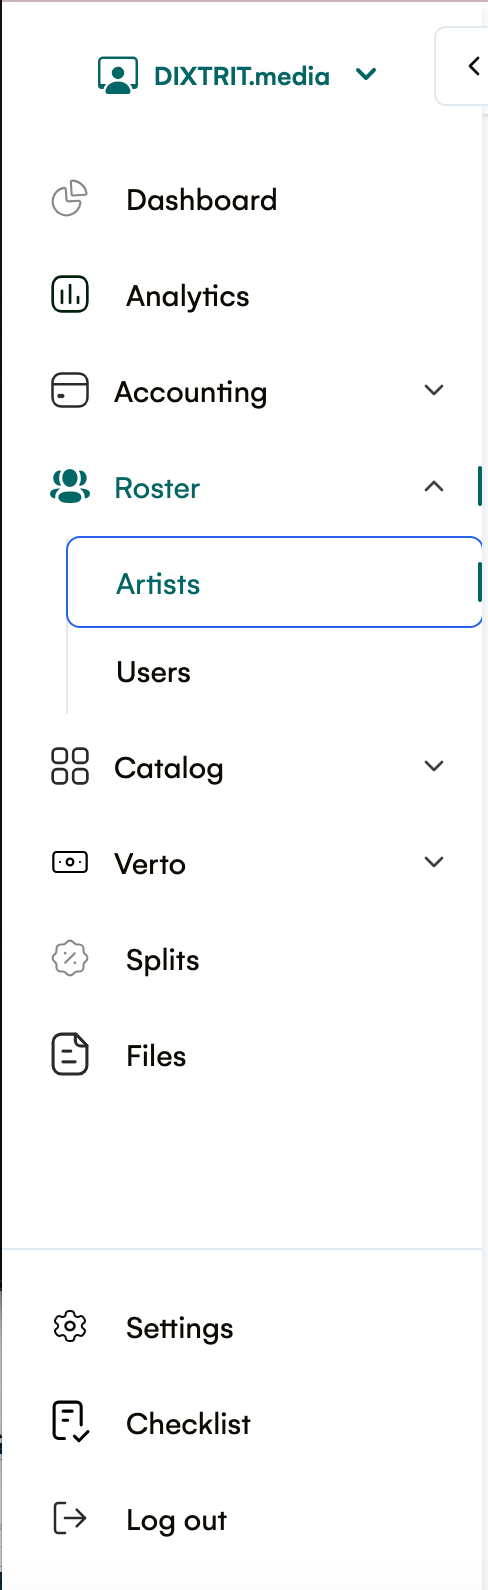
On the left navigation sidebar, click on the "Roster Management" dropdown.
Select "Artists" to navigate to the Artist page.
Artist Table Overview
-
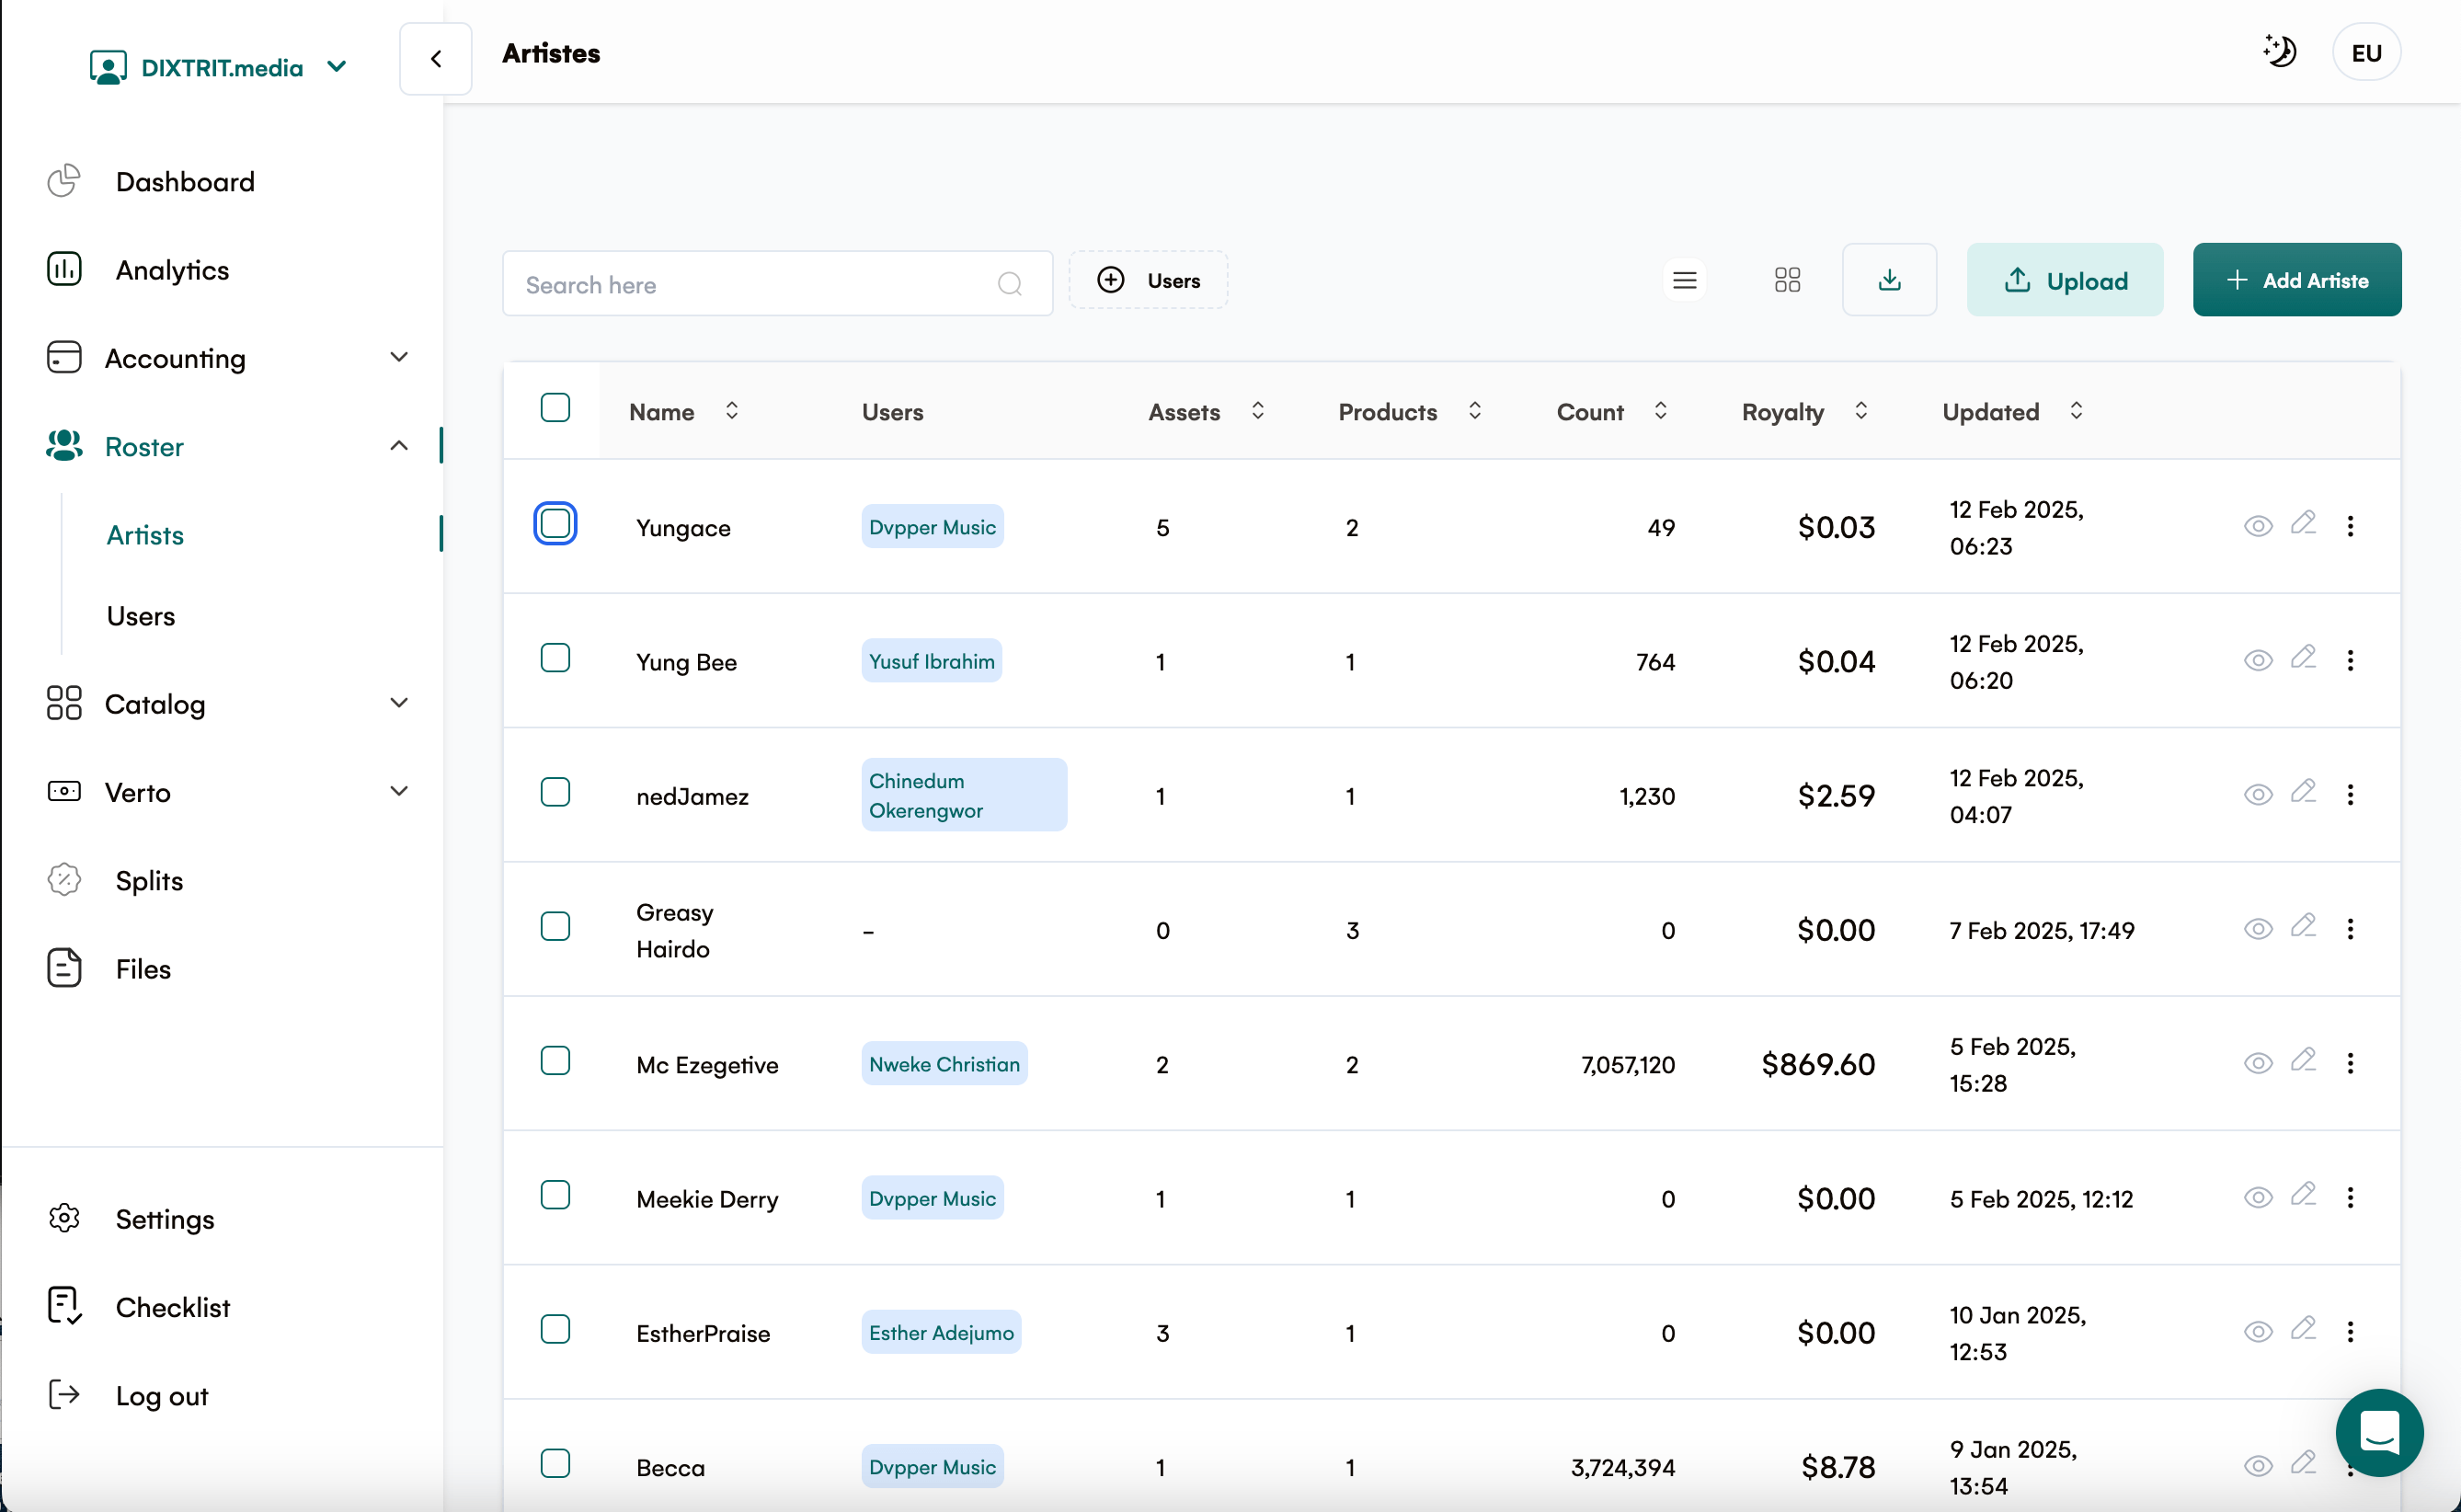
By default, artists are displayed in a table format.
-
The default table columns include: Name, Users, Assets, Products, Count, Royalty, Updated
###
Detailed Artist View
View Detailed Artist Information
Hover over any artist row in the table.
Click the eye icon at the end of the row.

This will take you to the Artist Page, displaying more detailed information about the artist, including:
-
Profile details.
-
Associated assets and products.
-
Historical and royalty data.
📷 [IMAGE: screencapture-appdev-royalti-io-a-roster-artistes-d3ffb582-4615-4454-afbc-c3a08deb8cca-2025-02-19-10:27:40]
Editing Artist Information
Edit Artist Information
Hover over the artist row in the table.
Click the pencil/edit icon at the end of the row.
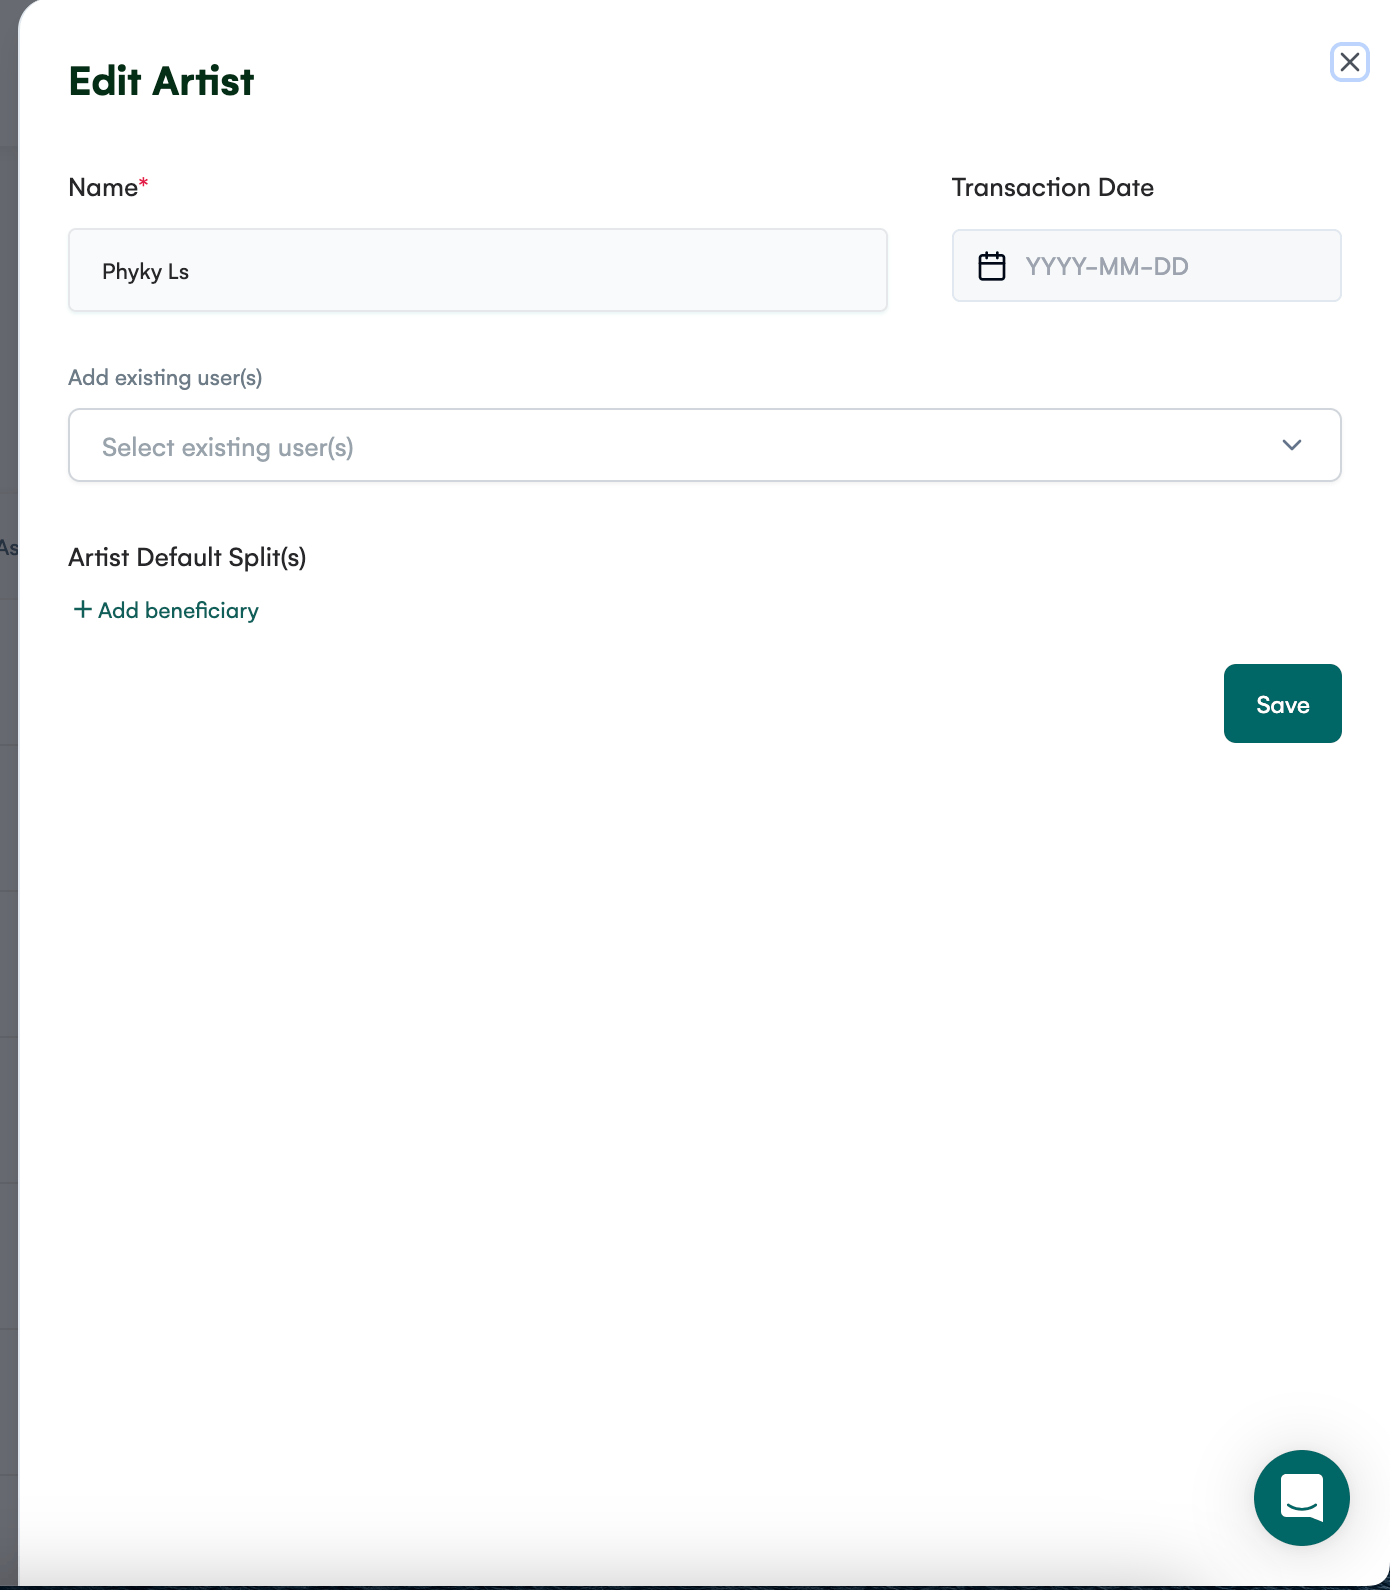
A right-hand sidebar will appear where you can update the artist's information.
After making changes, click the Save button.
Changes will be reflected in the table immediately.
Filtering Artists
Filter Artist Data
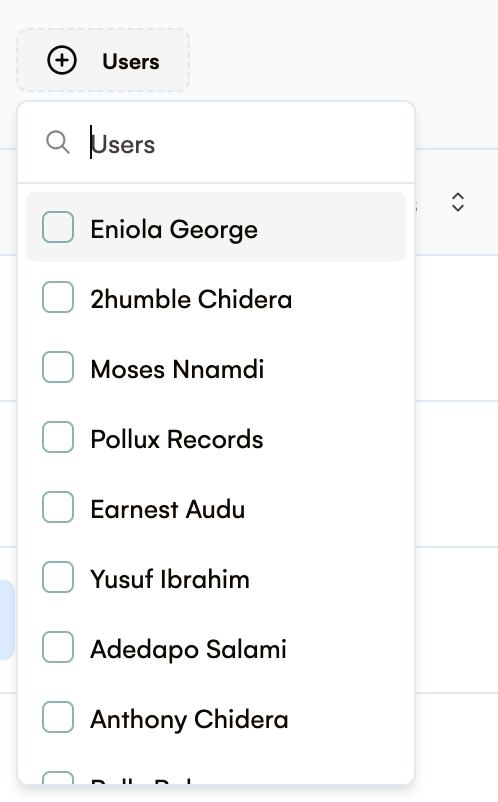
Click the + Users at the top of the table.

A dropdown with available users will appear. (with the ability to search.)
Select the desired user(s).
Deleting Artists
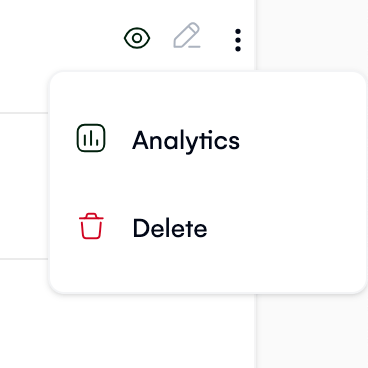
Delete a Single Artist
Hover over the artist row in the table.
Click the menu icon at the end of the row.
From the dropdown options, select Delete.
Delete Multiple Artists
Select multiple artists by checking the boxes next to their rows in the table.
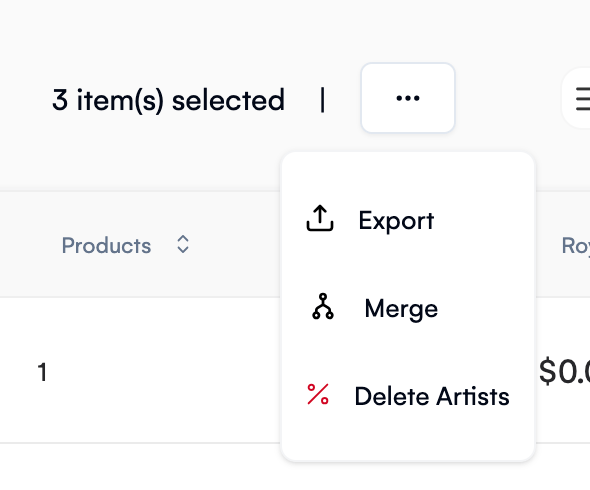
Click the menu icon at the top of the table.
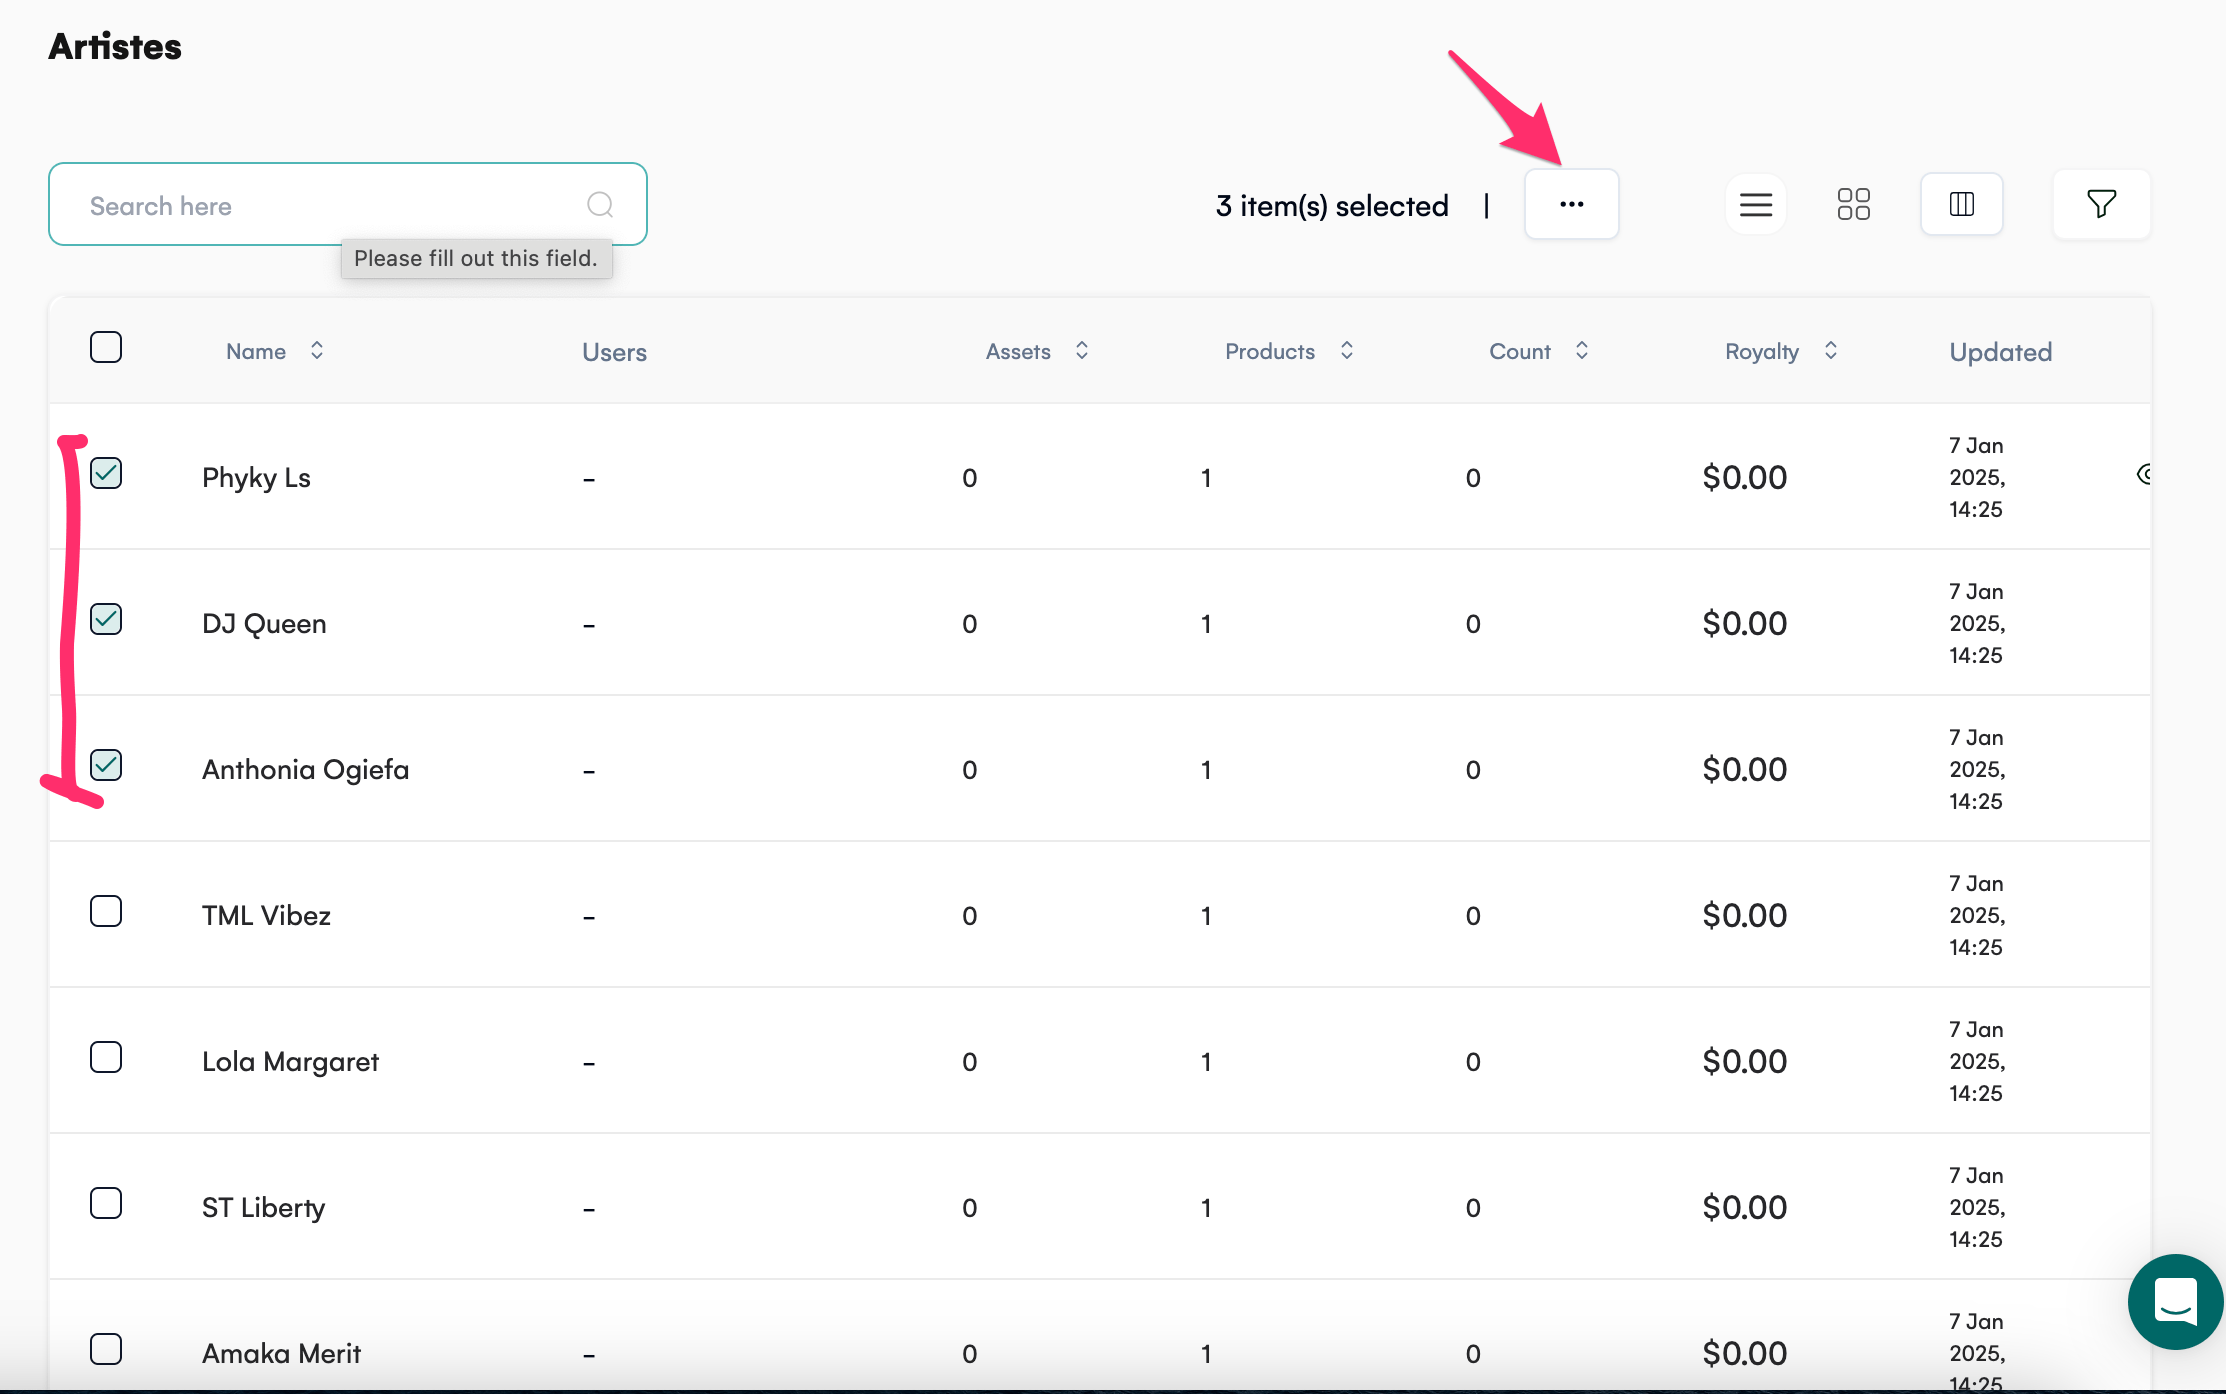
Select Delete Artists from the dropdown options.
Conclusion
The Artist Management feature in Royalti.io simplifies the process of handling artist-related data. With tools for viewing, editing, filtering, and deleting, you can efficiently manage your roster and streamline operations.
Start managing your artists today and take full control of your music business!
Related articles
Deleting your Royalti account
Delete your Royalti account from Settings. You're signed out straight away, and you have 30 days to cancel with the link we email you.
Download and Send Royalty Data
On the Royalti.io platform, you can download Royalty data from your workspace in CSV, XLSX or PDF formats. The Royalty data can be downloaded for specific artists, territories, DSPs, Assets, Products
How to Import Royalty Data
start by clicking on the "Import Data" button located on the top-right corner of the Dashboard page
Still stuck?
Support answers within one business day — usually much faster.